
Creative Pools in GAS (Go AdServer) let you group and manage your ads more efficiently. They make it easy to organize creatives by size or type, reuse them across campaigns, and save time by centralizing assets in one place.
This quick tutorial shows you how to add creatives from the Media Bank to a Creative Pool. It’s a simple way to assign existing assets without re-uploading files—ideal for simplifying your campaign setup.
1 – Go to Creative Pools
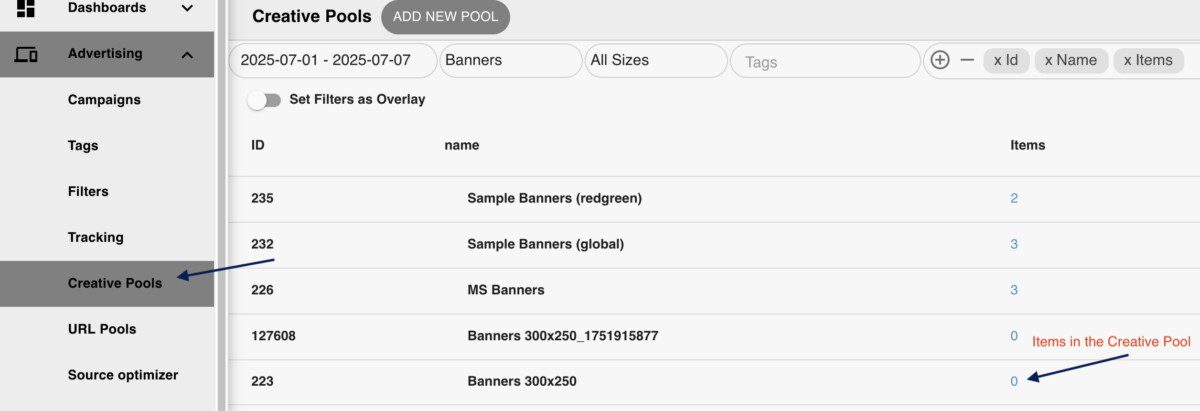
- Navigate to Advertising > Creative Pools in the left menu.
- You’ll see a list of available creative pools.
- Locate the pool where you want to add creatives (e.g., Banners 300×250).
- Note the “Items” column – it indicates how many creatives are already in that pool.
- Click on the number (e.g., 0) to manage the creatives inside that pool.
* If the pool has no creatives yet, it will display “0” under “Items”.
2 – Open the Creative Pool Options

- Once inside the selected pool, click the “OPTIONS” button in the top-right corner.
- Select “Add From Media Bank” from the dropdown menu.
* Make sure you are selecting the correct Creative Pool Ad format using the dropdown menu next to the date section menu.
3. Select Creatives from the Media Bank
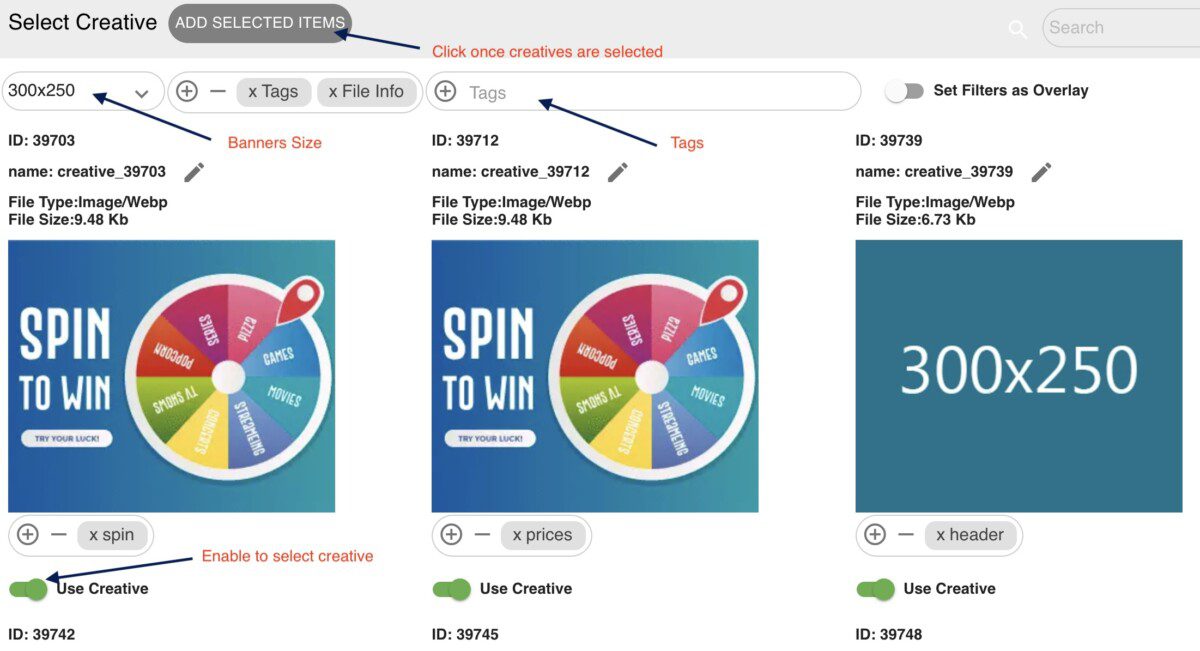
- Use filters (e.g., size 300×250, tags) to find the creatives you want.
- Enable “Use Creative” below each creative you want to add.
- Once the creatives are selected, click “ADD SELECTED ITEMS” at the top of the screen.
4. Verify Creatives Are Added
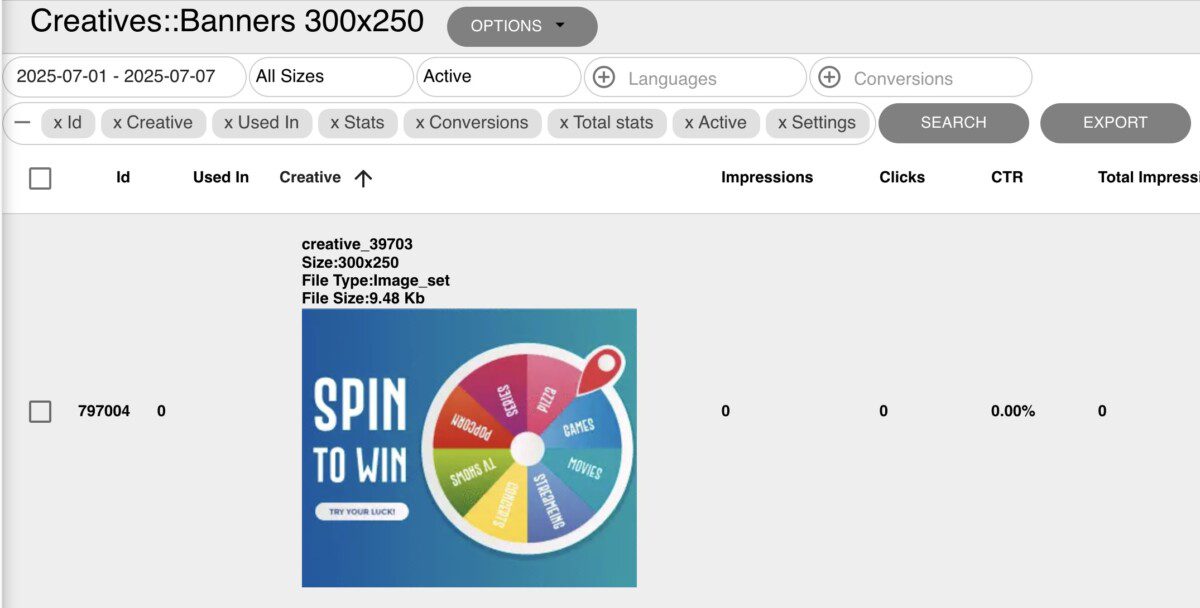
- The new creatives will appear in the selected Creative Pool.