
With our “Creative Pool” solution, you can easily manage all your banner and video ads in one place.
It helps you stay organized and saves you a lot of time by keeping everything together. No need to switch between different tools or deal with a lot of files. Whether you’re working on one campaign or many, Creative Pool makes it faster and easier to upload, review, and manage your creatives from start to finish.
Instructions:
1 – Go to Advertising > Creative Pools
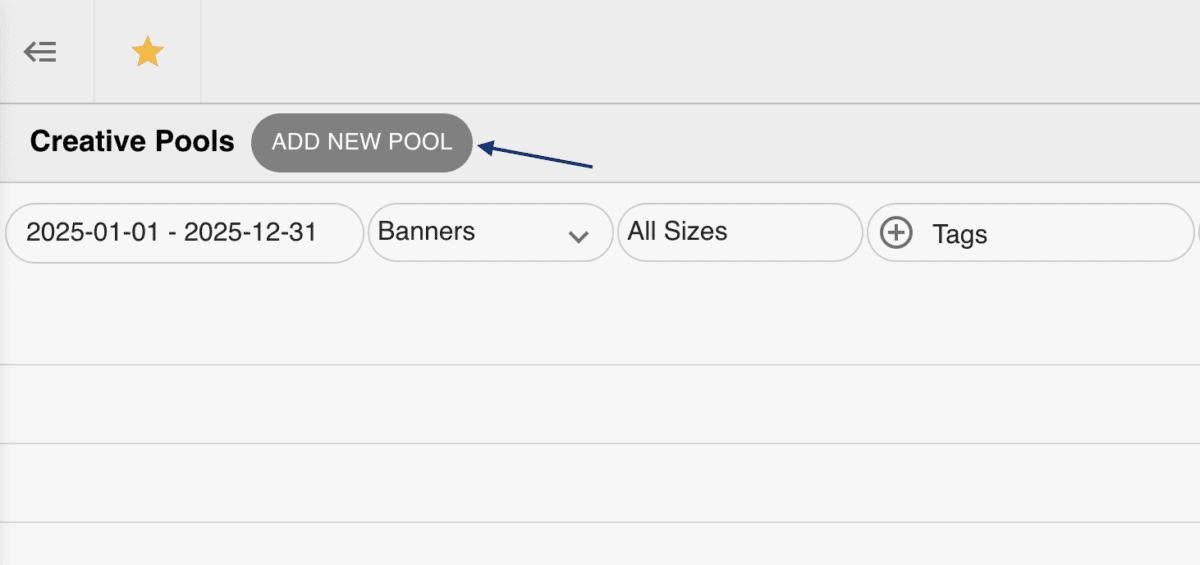
2 – Click “ADD NEW POOL”
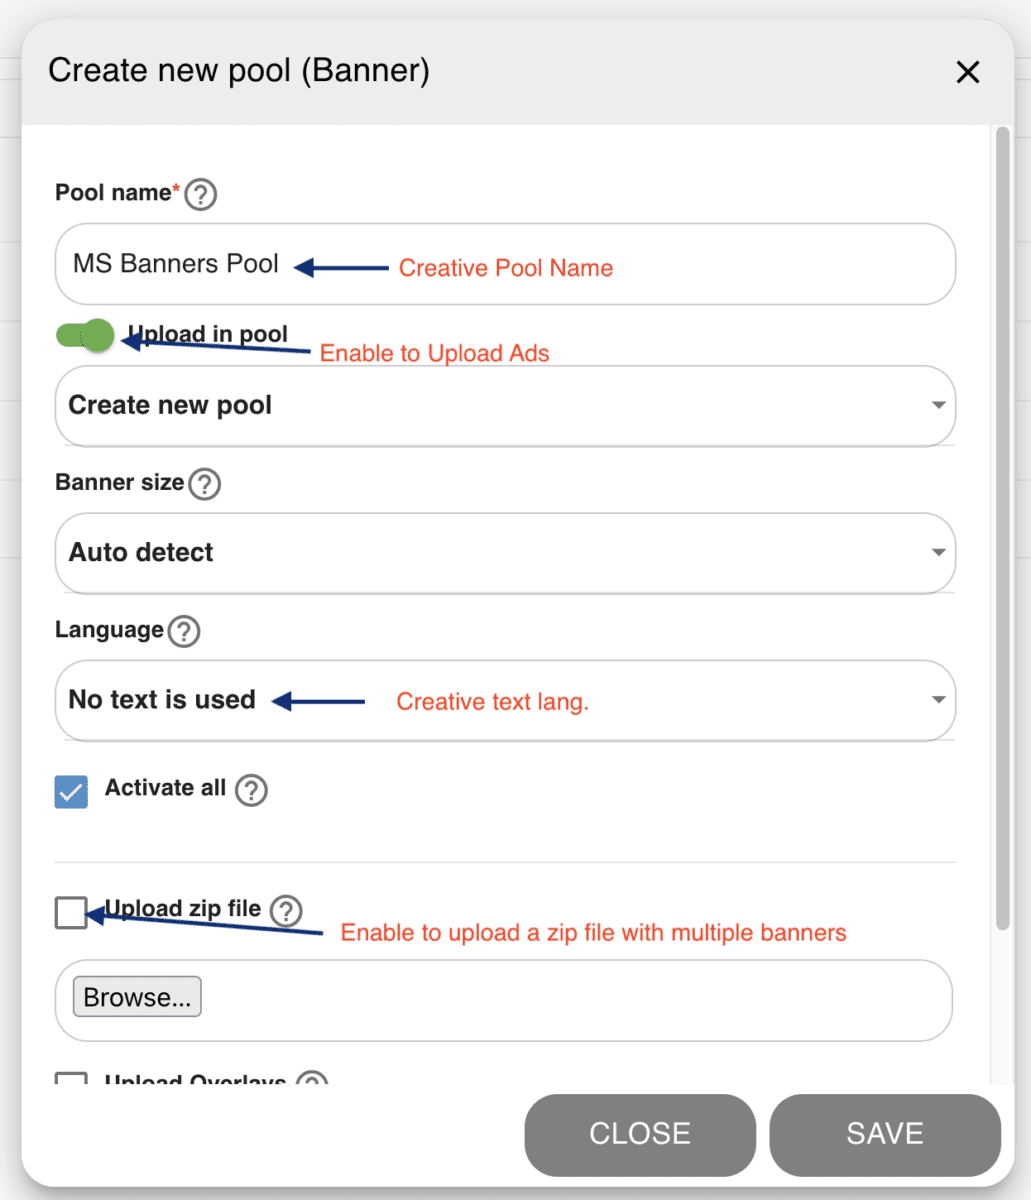
Enter a Pool Name
Choose a name for your new creative pool.
Enable “Upload in Pool”
Make sure the upload option is enabled to allow adding creatives.
Click “Create New Pool”
Start the process by selecting this option.
Select Banner Size
Choose the banner size. We recommend selecting “Auto Detect” for the best results.
Set Language (If Creatives Contain Text)
If your creatives include text, choose the appropriate language to ensure proper handling.
Activate Creatives After Upload
Click “Activate All” to automatically enable creatives once they are uploaded.
Upload Your ZIP File
Click “Upload ZIP File” and select the ZIP containing your banners and videos.
Handle Errors Gracefully
Enable “Skip possible errors and handle the good banners” to ignore any problematic files and continue with the valid ones.
Save Your Pool
Click “Save” to complete the upload process and finalize your creative pool.